Are you responsible for maintaining clean and safe air? Ensuring accurate ozone level detection is crucial. The Ozone GENie System simplifies the calibration process, ensuring your detectors are precise. Let’s go through it step by step to guarantee your detectors are functioning perfectly.
What’s in the Box
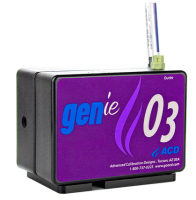
The Ozone GENie System streamlines calibration. It includes the essential components: the ozone module, calibration gas system, tubing, and power cord. Everything you need is included, so there’s no need to worry about missing parts.
Getting Started
Connecting the ozone module to the GENie system is straightforward. Securely attach the units at the back, then press and hold the power button until the screen lights up. The GENie will take about 2 minutes to warm up and be ready for use.
Preparing the GENie
Once warmed up, the unit is ready to operate. The GENie we’re using has a fixed flow rate of 1.0 ppm (parts per million). If you need to adjust the flow rate or ozone range, some GENie units offer that flexibility too.
Calibrating Your Devices
To calibrate your devices, connect the GENie tubing to the top of the unit and attach it to your gas detector. Refer to your detector’s manual for precise calibration instructions. Follow these instructions carefully to ensure your unit provides accurate ozone readings.
Wrapping Up
The Ozone GENie System makes calibration straightforward, ensuring accurate ozone detection. By following these steps, you’ll master calibration in no time. Whether you’re working in a factory, conducting environmental checks, or any other setting requiring precise ozone readings, the Ozone GENie System is your reliable partner.
With its user-friendly design and comprehensive functionality, the GENie simplifies calibration, delivering consistent, reliable results every time. Get your Ozone GENie System today and ensure your calibration is top-notch!
You can purchase the GENie here.